.png)
Personalizing Your Site
With REI Landleads, you can personalize your site quickly and easily. Hhead over to Appearance > Customize in the WordPress Dashboard.
The Layout (Details if using the Bold skin) section of the customization panel allows you to edit surface level items. This includes your logo, site title, favicon, call to action, footer widget, and your details as owner of the website.
This section of the documentation will guide you through how to update all of these.
To begin, select Layout/Details
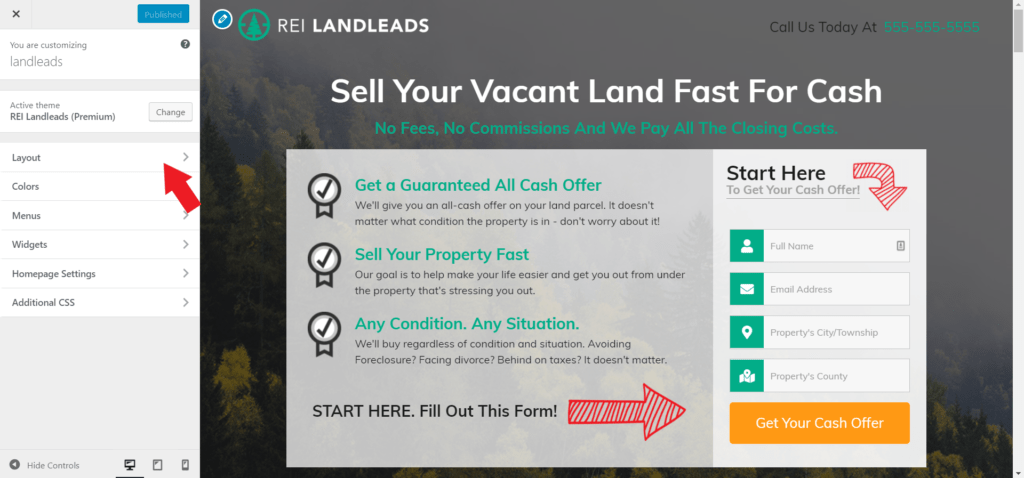

First, we're going to change the Site Identity/ Header as it's called if you're using the bold skin


Site Identity/Header
You will be presented with a number of options under site identity/header, here is what to do for each section, the screenshots show our classic skin, however, the options are the same for both the classic and bold skins. There are some options only available to those using the bold skin and they've been highlighted in the article:
Logo
To change your site’s logo click the Change Logo button and select the appropriate file from your computer.
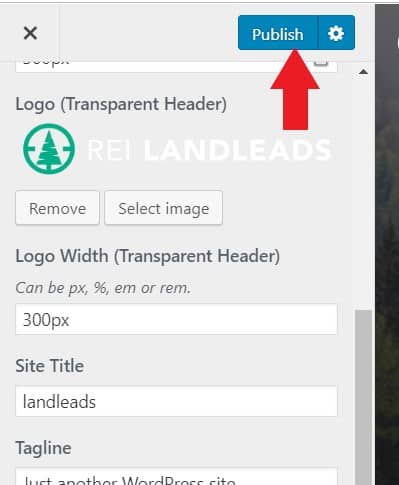
You can then change the size of the logo, it is already set to the recommended setting of 300px.
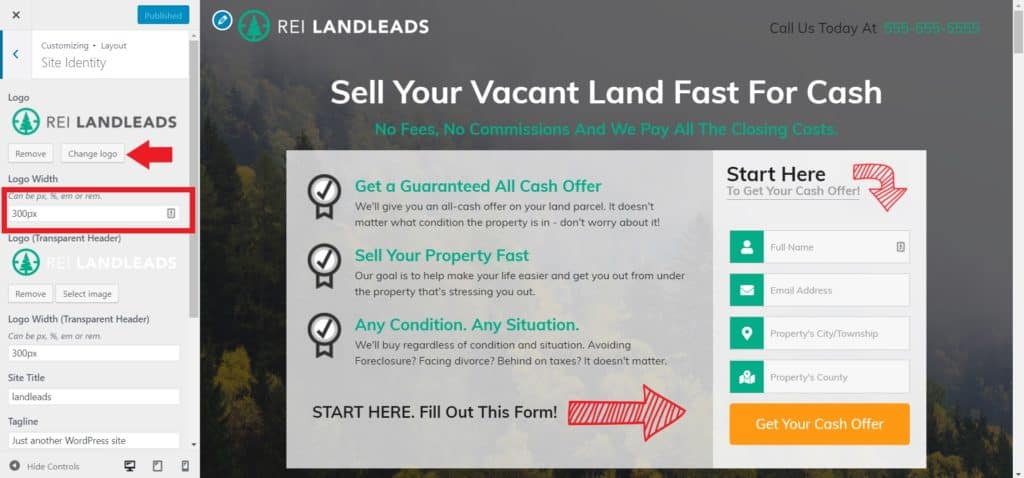
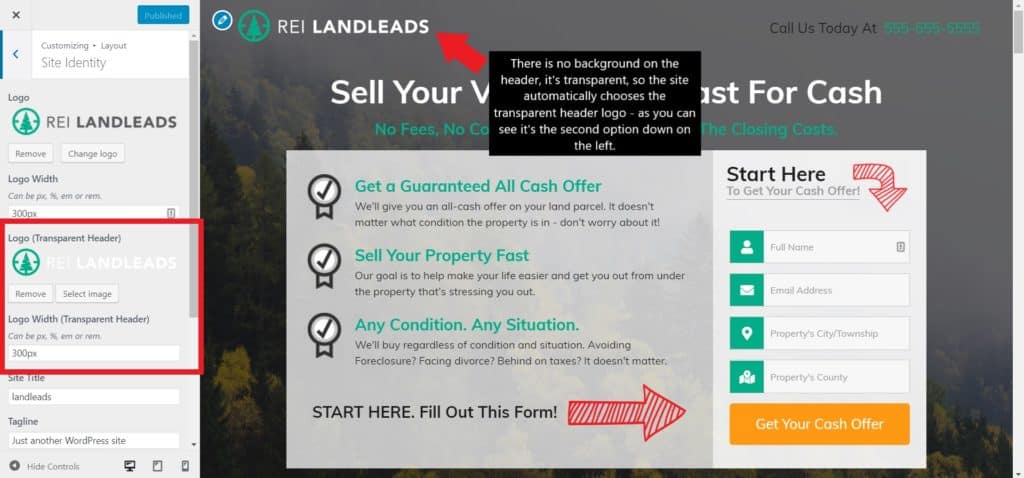
Note: You will see that there are two different areas to change the logo and the size of it. This relates to what kind of header you have. A regular one, or transparent one. As you can see, in the demo, we are using a transparent header so the second logo option is displayed.
Site Title
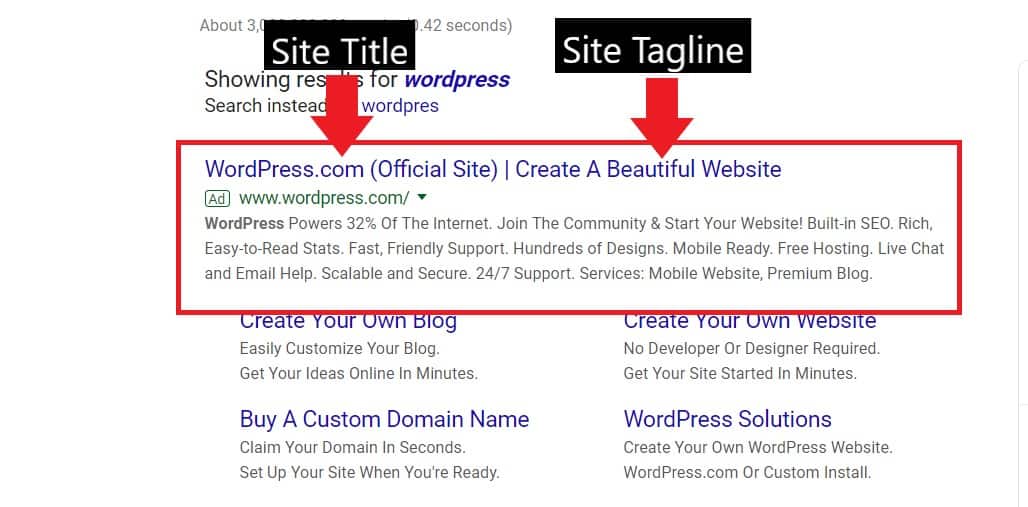
The Site Title is the title of your website and serves as an introduction to your content. It's usually your company name. You will see it appear on Google Search results.
The Tagline is the second part of the introduction and is a quick and catchy phrase introducing what you do. You also see this in the Google search results.
There is a small checkbox available if you don’t want the site title and tag line to show in the header of your website (this is the default option in the demo). Ensure that the box is unchecked if you want to keep it this way.
Site Icon
Also known as the favicon. This is the small image that appears next to your website in the address bar and at the top of your tabs as you can see below:
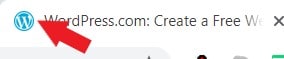
To change this, click on Select Site Icon and upload the file from your computer.

Enable Your Menu Here (Bold Skin)
This button directs you to the menu customization section. If you want to learn more about setting up your menu, check out this section of the documentation.

Button Text (Bold Skin)
This is the text that will appear in the button you feature in the header if you're using the bold skin.
Button URL (Bold Skin)
This is the URL for the button

Once you have made all your edits to this section. Click on Publish at the top of the sidebar.
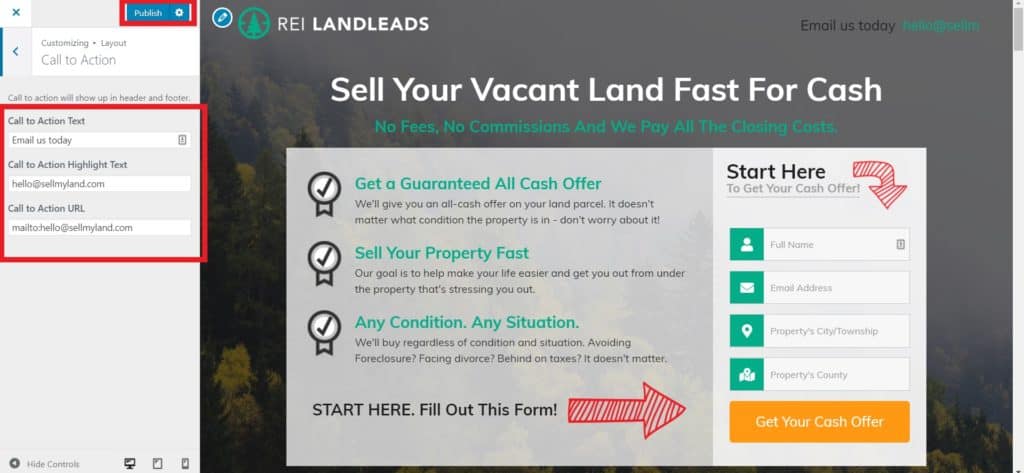
Call to Action
Next, you have the Call to Action, which you will see located on the right-hand side of the header of your site and in the footer.
Here you can simply fill out your call to action text, the highlighted text (which will your preferred contact number or email) and your call to action URL; so if someone clicks this it will automatically open their email account or, if they're on mobile it will bring up the number in their dial pad.
To edit the text, simply click on the text box.
If you want to switch from telephone to email, delete 'tel:' and type in 'mailto:' followed by your email.
Once you're done, click Publish to save changes.
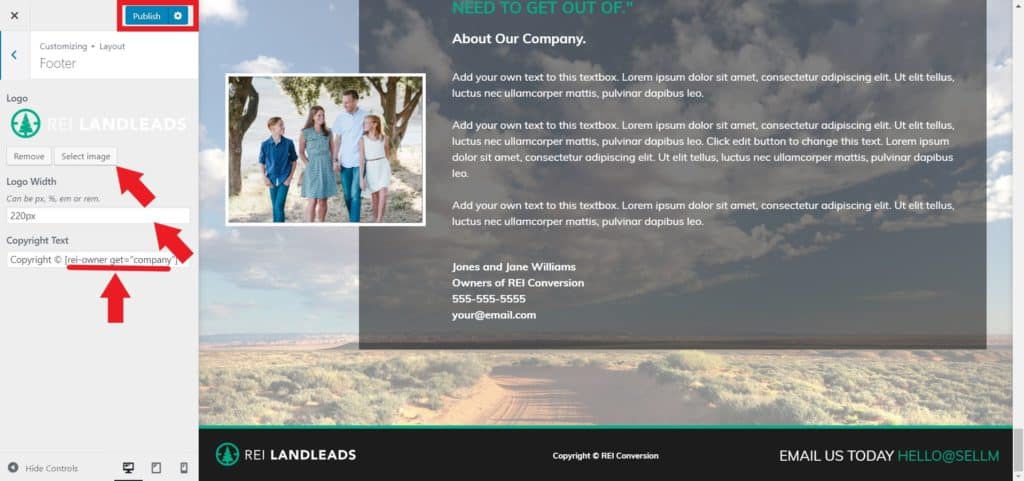
Footer
The footer section is pretty simple. In the classic skin you can add your logo, and the logo width and some copyright text. There is a shortcode here to put in your company name.
On the bold skin, there's the option to add a logo, then followed by a Copyright Text box it's just a box for code and shortcode. You can edit the regular code, but don't edit the shortcode as this will break the information that it's pulling. Shortcode looks like this:
[rei-owner get="company"]
Finally, there is a toggle for a Call to Action to be featured in the footer.
Once you've made your edits, click on Publish to save.

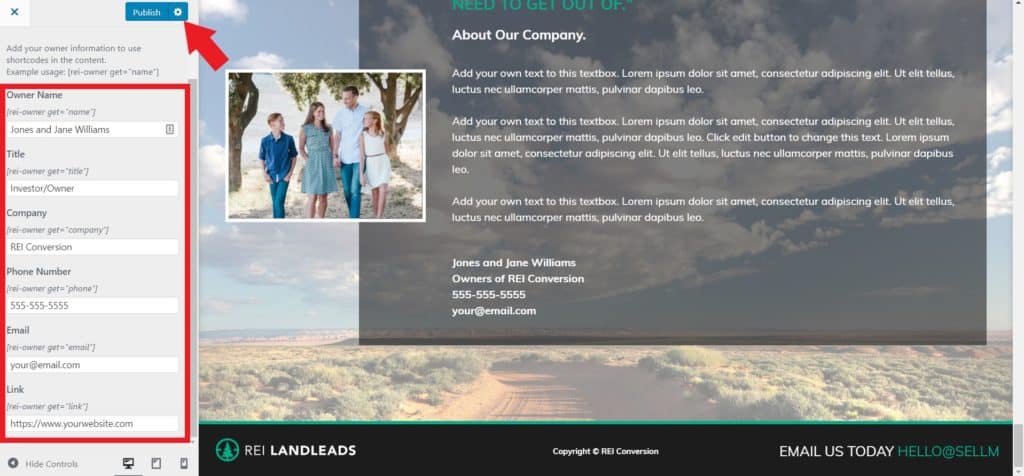
Owner
The owner’s information will appear on various parts of your website. Here at REI Landleads, we have enabled shortcodes, so instead of typing out all your contact information multiple times, you can just type the shortcode. This section is where you fill out all the information for your shortcodes.
Owner Photo (Bold skin) - Upload your picture here by clicking Select Image
Owner Name – Enter your name here.
Title – Enter your title here.
Company - Enter your company name here.
Phone Number - Enter your phone number here.
Email - Enter your contact email here.
Link - Enter a link to your website here. This could be a link to the website where all your lands are listed.
Once you're done, hit Publish to save the changes.