.png)
Connecting to Mailchimp
Creating an email newsletter to send out to your leads should be an integral part of your marketing strategy. Therefore, we recommend using an email marketing service such as MailChimp to create your email marketing campaign.
Ninja Forms then provides an option to integrate with MailChimp for a small additional fee using the MailChimp add on. You can learn more about purchasing the add on here.
Getting Your API for MailChimp
Once you've purchased your MailChimp add on, you will need to get your API key so that Ninja Forms can gain access to it.
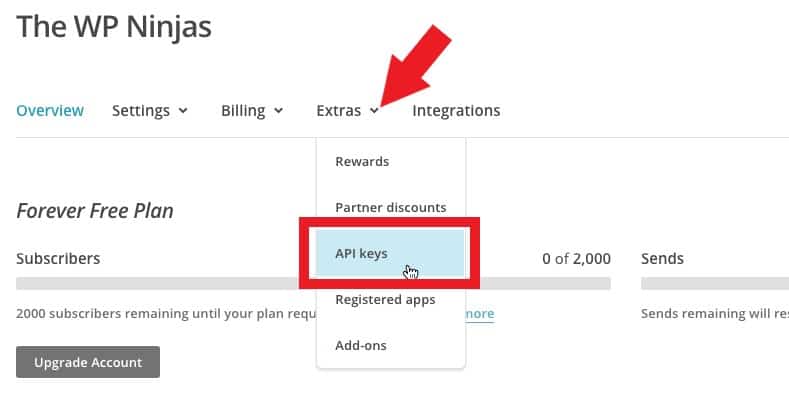
Head over to your MailChimp Dashboard.
Under Extras, click on API Keys.
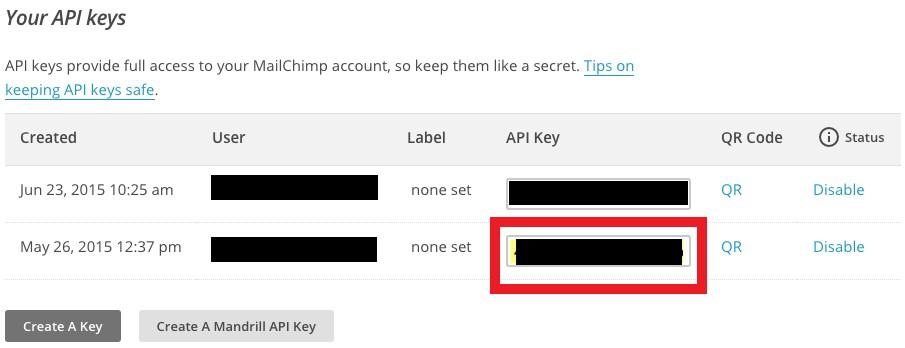
Click on Create a Key, which is at the bottom of the page.
Your API Key will then pop up. Click on the box to copy the key.
Linking with Ninja Forms
Now, head back over to Ninja forms and download MailChimp. It will be located in your account.
Then head to your WordPress Dashboard to install the plugin.
Go to Plugins > Add New.
Click Upload Plugin at the top of the page and upload the file.
Once installed click the hyperlink to activate it.
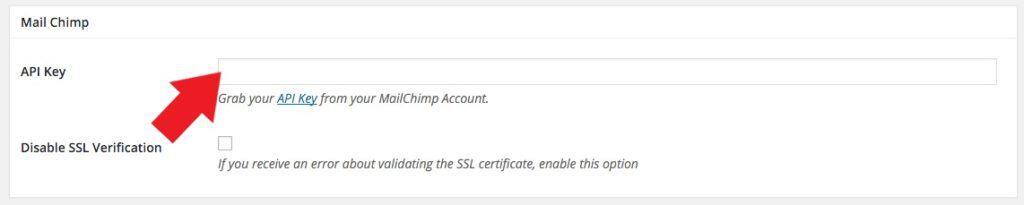
Next, on your WordPress Dashboard, go to Ninja Forms > Settings. At the bottom of the page you'll see your MailChimp settings.
Paste in the API key you copied earlier.
Adding MailChimp to Your Forms
Now you will be able to add MailChimp to your capture forms.
Head to your WordPress Dashboard and go to Ninja Forms > Dashboard.
Click on a form which you'd like to connect with Mailchimp.
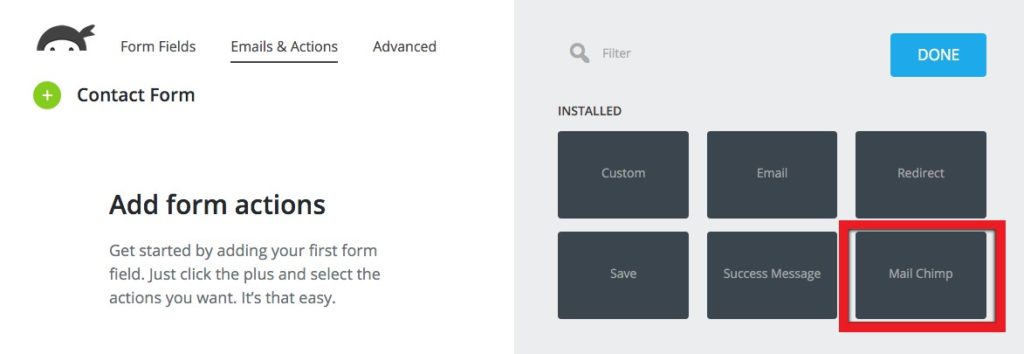
When you're on your form go to Emails & Actions.
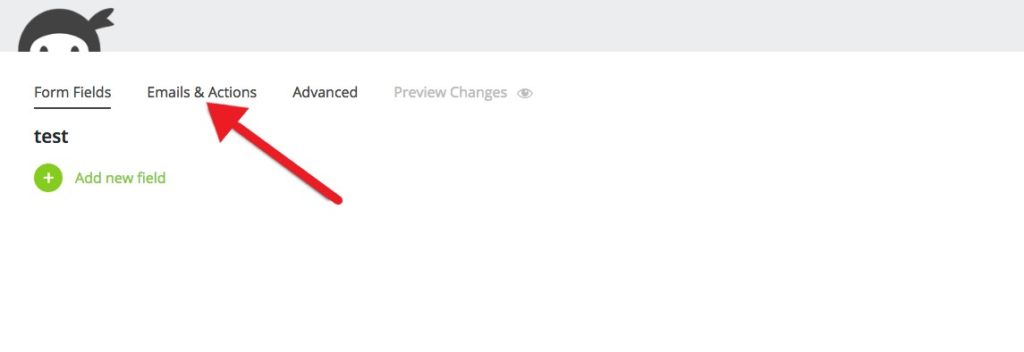
Click Add New Action and select MailChimp
Choose the MailChimp list you want your leads to go to.
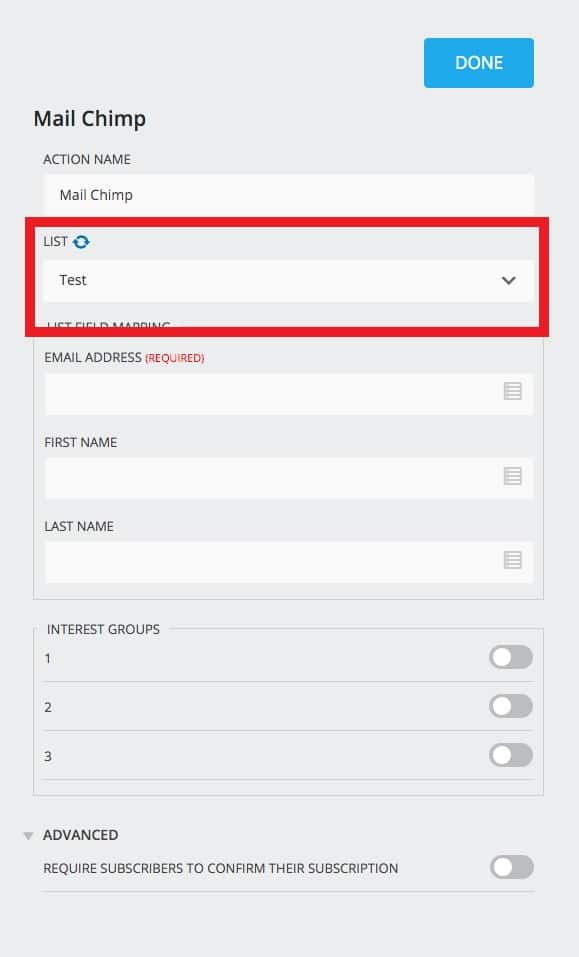
Then, map your fields by choosing the corresponding MailChimp fields on each item on the form.
Please note that if a field is required in MailChimp, it MUST be mapped to a Ninja Forms field.

Click Done to save your changes.